Long exposure basics
Tripod up, ND on, and the frame still comes out soft, blown out or black. Usually the order was wrong. Fix the order and what is left is one equation and a table of timings.
1. What you need
- A tripod. A featherweight one in wind is worse than hand-holding, and a fully raised centre column is the wobbliest part of the rig, so keep it down.
- A way to fire without touching the camera: cable release, phone remote, or the two-second self-timer. Finger shake hurts most between 1/4 s and 2 s.
- An ND filter for daylight. See lens filters explained.
- An eyepiece cover on a DSLR, or tape. Light leaking through the viewfinder brightens the frame or adds flare. Mirrorless bodies don't have this problem.
2. Setting the camera
- Manual or bulb, lowest native ISO. Skip the extended "L" setting; it costs dynamic range.
- f/8 to f/11, where most lenses are sharpest. Stopping down to f/22 to stretch the time buys you diffraction softness. Buy the time with ND instead.
- Autofocus once, switch to manual, and leave the ring alone. Behind a dark ND, autofocus often can't lock at all.
- Stabilisation off; on a tripod it can hunt. See hand-holding and stabilisation.
- Shoot RAW so white balance and shadows stay adjustable. See RAW or JPEG.
- Turn on electronic first-curtain shutter or mirror lock-up if you have them.
- Check the histogram after every frame. At night the rear screen always looks brighter than the file. See how to read a histogram.
Zlens turns the phone into the camera console: live view, remote settings, RAW transfer. Android first, coming soon.
About Zlens and supported cameras3. Converting ND stops
One equation: target time = metered time × 2stops. Meter with no filter on, then move the shutter by the filter's stops. Each stop doubles the time.

| Filter | Stops | 1/125s becomes | 1/15s becomes | 1/2s becomes |
|---|---|---|---|---|
| ND8 | 3 | about 1/15s | about 0.5s | about 4s |
| ND64 | 6 | about 0.5s | about 4s | about 32s |
| ND1000 | 10 | about 8s | about 60s | about 8 minutes |
Most bodies top out at 30 seconds. Past that, use bulb: the shutter stays open while the release is held, and you time it with a phone stopwatch or a programmable remote.
4. How long to expose
| Subject | Starting time | Notes |
|---|---|---|
| Streams and small falls, keeping texture | 1/4–1s | Longer and the water loses its shape |
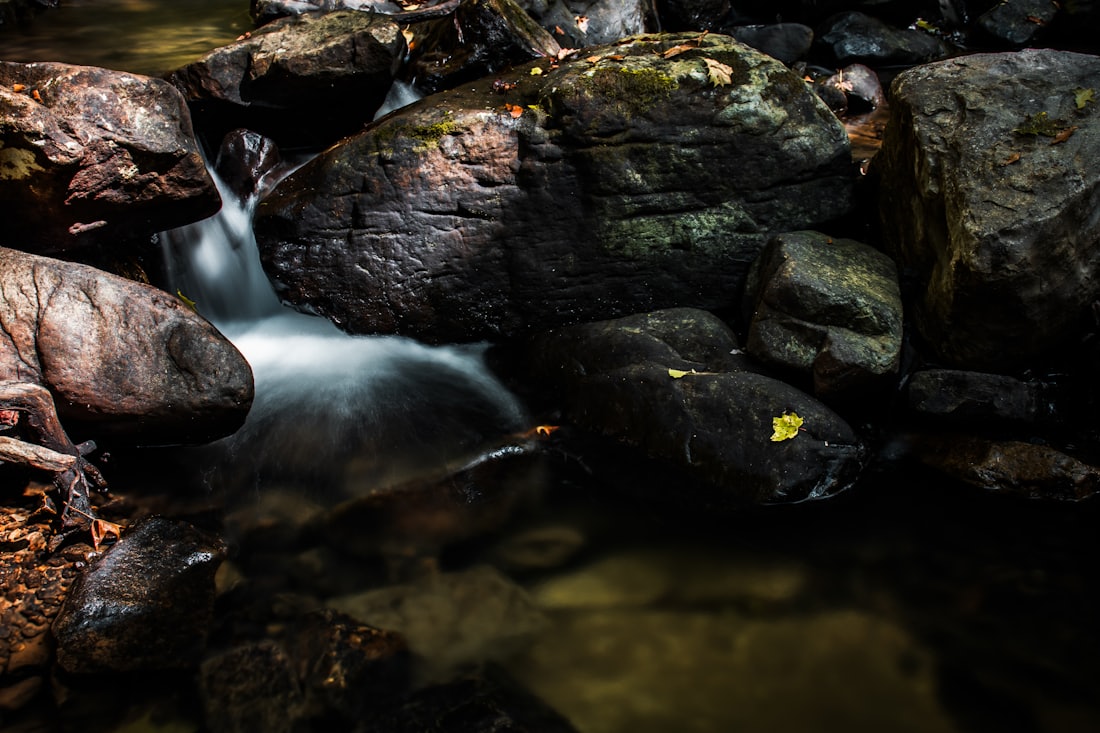
| Silky waterfall | 1–3s | The usual starting point |
| Sea smoothed to mist | 15–30s | Ten stops of ND in daylight |
| Vehicle light trails | 10–30s | Long enough for a car to cross the frame |
| Moving cloud | 30–120s | No wind, no movement |
| Making a crowd disappear | 60s and up | Only what stays still survives |
5. The usual failures
- Centre column fully up, or the tripod on a boardwalk where every passer-by shakes it.
- Stabilisation left on; DSLR eyepiece left open.
- Not re-metering after the ND goes on, or not switching to manual focus.
- Pressing the shutter by hand. Exposures around one second are the most shake-sensitive.
- A variable ND turned to its limit, leaving a dark X. See lens filters.
- Long-exposure noise reduction off past 30 seconds, and hot pixels everywhere.
- One duration all evening. Bracket the time from one spot and choose at home.
How this works in Lenscript. Zlens puts most of this on your phone: remote shutter, aperture, ISO and exposure compensation, live view with a histogram and zebras, and interval shooting that works with bulb and carries on after a power interruption. RAW files come straight back to the phone. It replaces the cable release and the crouching beside the camera, not the tripod. Android first, one-time purchase, not released yet.
6. FAQ
What if I have no cable release?
Use the two-second self-timer. Your hand is off the camera and the shake has died down by the time the shutter opens. You only need a lockable release or a phone remote for bulb past 30 seconds.
Can I do a 30-second exposure in daylight?
Only with ND. A sunny scene meters around 1/125s, so eight seconds takes ten stops. For a minute or more, stack filters or wait for the weaker light of early morning or dusk.
Should I turn on long-exposure noise reduction?
It shoots a matching dark frame and subtracts it, which kills hot pixels and doubles the time per shot. Leave it on for an unhurried night. Turn it off when racing the blue hour or shooting timelapse frames, and clean up in editing.
Can a phone shoot long exposures?
Most pro modes reach 30 seconds. Light-trail modes are really multi-frame stacks, not one long shutter: less noise, less control in very dark scenes. Either way the phone has to stay still, and a railing beats your hands.